Choosing a cluster
As the fleet approaches the target galaxy it has the chance to choose a particular cluster of stars that looks most promising. The size of clusters under consideration can be altered, but note that larger clusters will take longer to load and save, and in later stages of gameplay may slow down intolerably. 2,048 systems is a good starting point for a typical setup. The arrow buttons near the top of the window are used to browse clusters of the selected size.

To move the view, hold the right mouse button and drag. To zoom, use the mouse wheel or the [] keys. The zoom function will use the current mouse pointer position as its focus. The [Centre] at the bottom of the window will re-centre the view.
The cluster is made up of a number of stars of various classifications. After the star classification is a symbol that indicates other characteristics of the system.
M+an M-class star with planets and both an inner and outer asteroid belt.M∴an M-class star with planets but only an outer asteroid belt.M=an M-class star with both an inner and outer asteroid belt, but no planets.M-an M-class star with only an outer asteroid belt.
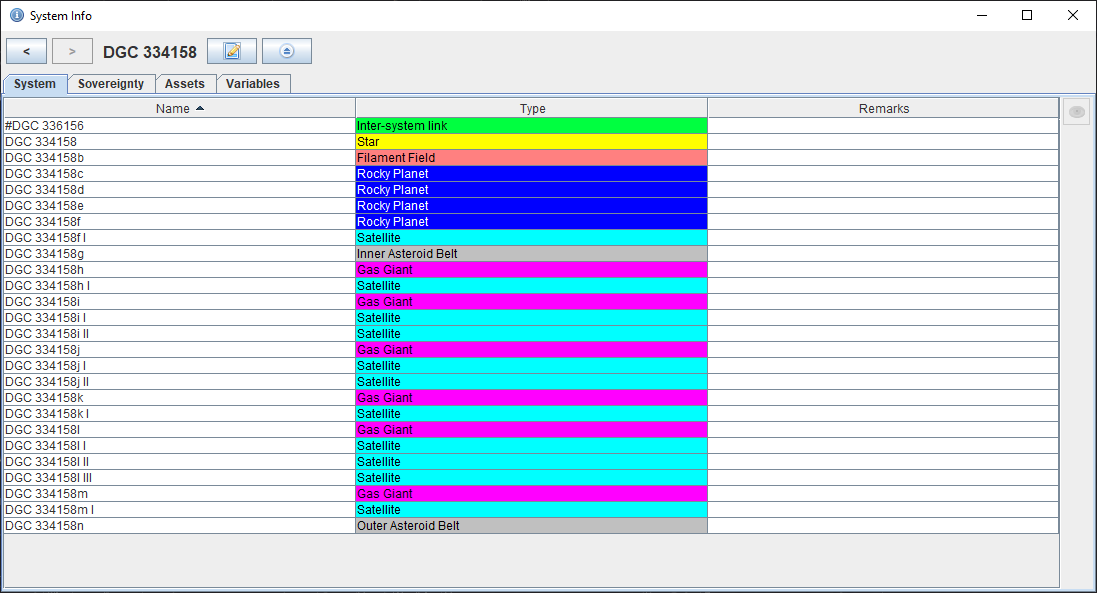
Left-clicking a system will select it and show a summary of the system bodies in the top-right corner of the screen. Once selected an information ![]() icon will appear on the right-hand side of the window which can be clicked to give a more detailed summary.
icon will appear on the right-hand side of the window which can be clicked to give a more detailed summary.
The lines joining star systems are known as arterial links and are typically the easiest and fastest routes between systems but can only be accessed by ships with a jump drive. The arterial links are a natural phenomena discovered by contemporary physics and exploitable by jump drives, rather than something constructed. Ships with jump drives can also travel across voids of space by means known as transfuse jumps, although the range of such jumps is usually much shorter than arterial jumps and such travel takes a lot longer. In order to undertake a transfuse jump the ships must search out optimal points in normal space from which to make the jump, following threads similar to those that allow arterial travel, but much more tenuous and unpredictable.
Around the edge of the cluster are systems highlighted in green. These are the only systems that the fleet can arrive in. The easiest initial systems to choose are G+, F+, K+, or M+, preferably with several rocky planets as they will have some of the best resources available and give plenty of opportunity for expansion within a single system in the early game.
To examine a system in detail, select it by left-clicking and click the expand ![]() icon on the right-hand side of the window.
icon on the right-hand side of the window.
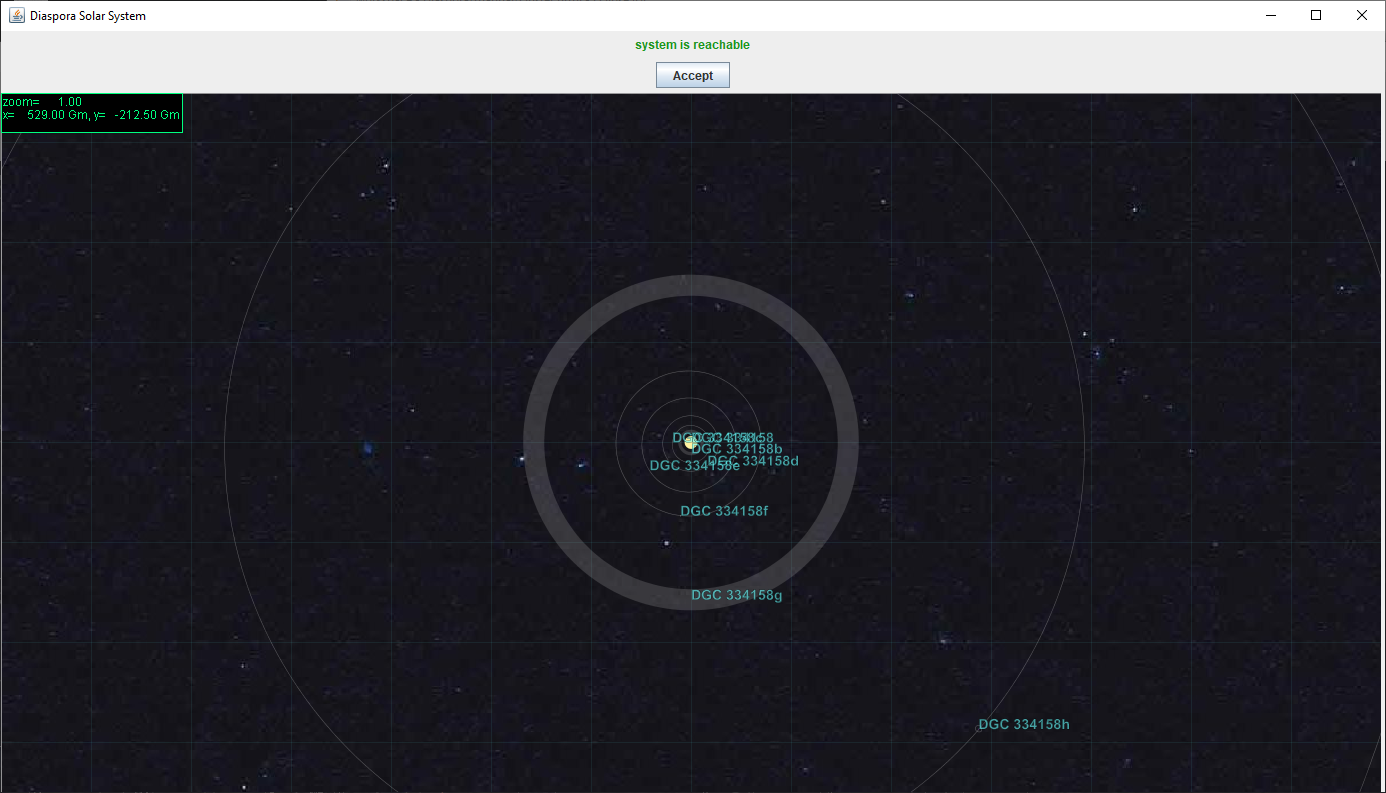
As with the cluster window, the view is moved by holding the right mouse button and dragging. To zoom, use the mouse wheel or the [] keys. The zoom function will use the mouse pointer position as its focus. The view can be re-centred with the [Centre] button at the bottom of the window.
System bodies can be selected by left-clicking, although only limited information will be given at this time (e.g. mass, radius). More detail will become available later.
A valid starting system (a green one on the cluster view) will show system is reachable at the top of the system window. To target arrivel in this system press the [Accept] button. On confirmation the fleet will begin manoeuvring for arrival, which may take a little time.
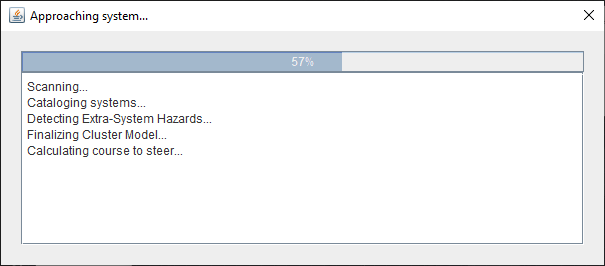
Once this step is complete, the game begins.